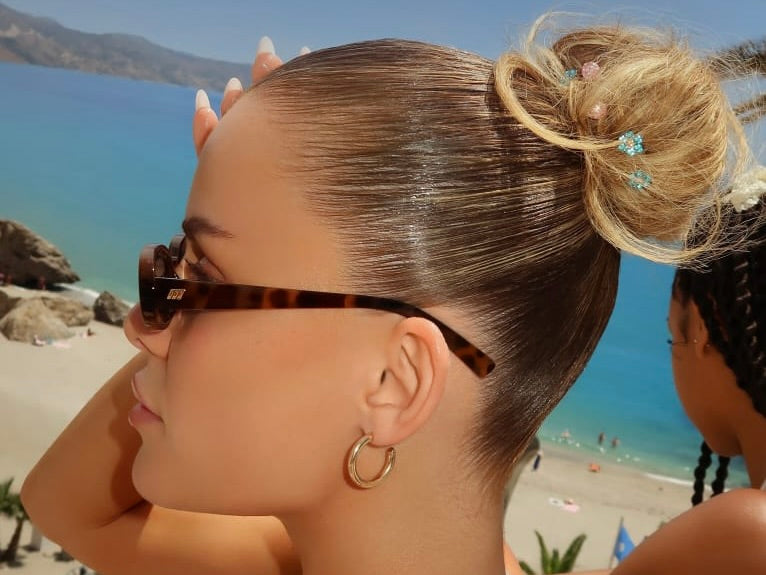
How To Do a Slicked-Back Bun
Hailey Bieber may just be the reason why slicked-back buns are in style. However, it’s a timeless look that is classy and thankfully easy to do. But it may not feel easy the first time you try it. That’s because, often, ladies resort to just pulling their hair back tightly.
But this isn’t the way! In fact, this method can damage your hair. That’s why we have created a step-by-step guide on how to do it and what products to use. Let’s get started.
How To Do a Slick Back Bun Step-By-Step
When going for a sleek bun, it’s important to have a routine. The base for the look remains the same, while your bun can have some variation. Styling it is the fun part!
Gather Your Tools and Supplies
Simply pulling out hair back won’t create the smooth look we’re after. That’s why gathering the necessary tools is key. Consider this your checklist.
- Forgiving hair ties or hair scrunchies will make it easy to tame one part of your hair while you work on other sections. Rough hairstyles can lead to hair fall, so choosing the right material is important.
- Bobby pins will be helpful for anyone who has layers, breakage, or flyaways. Not all of our hair will behave and fit into the hair tie.
- A fine-comb or hair brush that will help you pull all the hair strands back into a smooth bun. When you use wide-tooth combs for this, it can leave bumps or missed hair.
- Products that will help hold your hair back once it’s perfectly in place. A primer and a hair oil are the perfect duo. You may be thinking, “Well, what about hair spray?” Not necessary! We will get to that.
When it comes to the slicked-back bun, less is more. It’s the perfect opportunity for those who want to hide a little grease in between wash days because it has that sleek look. But too much product or roughing around will lead to a wet, grungy look.
Section Your Hair
After you have gathered your tools and supplies, it’s important to start by sectioning your hair appropriately. This will allow you to prep it and put hair product in evenly to avoid any clumpy parts.
The best way to section your hair is to take your brush and start at the roots, gathering hair that sits above your ears. This is the top half. Throw it into a loose bun on the top of your head so you expose much of your underhair.
Apply Product
Start applying a primer from the mid-lengths of your hair to the ends. Once you’re done with that section, section this bit of hair with a clip and do the same process with the top half of your hair. Using too much primer can end up leaving your hair weighed down.
When you use Gisou’s Hair Primer, you can count on a frizzless look and a lightweight feel. It also helps that when you are coming fresh out of the shower, it reduces your drying time, making it easy to avoid hot tools.
While hair oil is also an important part of the process, we can save this product for the finishing touches.
Part Your Hair
Even though we are working with a slicked-back look, it’s still important to part your hair for the framing. A straight down the middle part is going to create the symmetry that makes the slicked-back bun look so elegant in the first place. To part, simply take your comb or fingers and section your hair straight down the middle.
Brush Your Hair Back
After parting, brush your hair back, keeping the middle part slightly distinguishable. Your hair should be smoothed back as if you were going to create a low ponytail. If you find that your hair is not staying put, it’s worth adding a little extra primer to smooth it down. It may take a few brushes to create that smooth, sleek look.
Twist Into a Bun and Secure
Once your hair is sitting smooth on top of your head, grab all of it into a low ponytail and twirl the hair. You can wrap it around in circles to create a tight bun and secure it with a scrunchy, non-abrasive hair tie or a large clip.
Tame Flyaways and Set Your Style
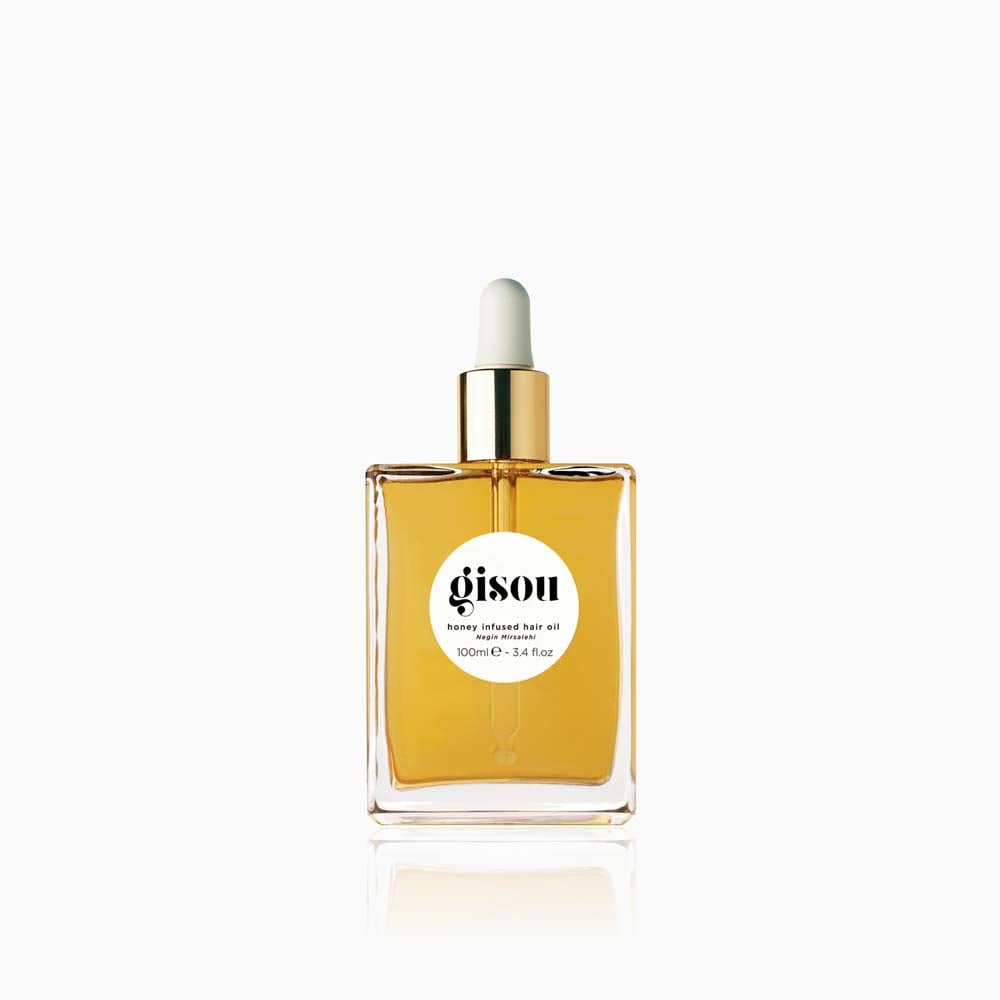
Naturally, you will notice that you have flyaways and hair that doesn’t want to stay in the bun. This usually happens around the crown of the head. This is where good oil comes in. Gisou’s Honey-Infused Hair Oil is the perfect weightless option that will keep flyaways at bay.
You only need a small drop, which you can warm up between your palms. Then, with your hands, smooth back your hair, letting the oil pat down the whipsies. This is also going to add a luster and shine to your hair that makes it the absolute perfect finishing touch.
Slick-Back Bun Variations
There are quite a few variations of how to tie your hair together in a bun. Consider these options to switch it up.
High Slick Back Bun
While we talked about a low slick back bun above, there is nothing stopping you from creating a high slick back bun. This is for our girls that love to wear the high pony. Just be careful with tugging and pulling because this can create some breakage. This is a great option for those who have layers or shorter hair, so it can all fit into the bun.
Low Slick Back Bun
A low, slick back bun is easy to maintain and is generally less abrasive on the hair. For those with longer hair, it’s easier to pull off because all lengths will reach it. Some women like to actually tie the hair into a low pony first and then wrap the hair around it to hold it in place better.
This is because, with a low bun, it may be more apt to come “undone” as it brushes against your shoulders.
Slick Back Bun with a Braided Twist
If you are feeling extra fancy, then a braided twist is a beautiful addition to a slicked-back bun. Pulling your hair into a low ponytail is the easiest way to do this. Simply braid the hair as normal and tie it off with a small elastic hair band to hold it into place.
Then, wrap the braid around each other into a small circular bun and secure it with a knot. This will give you the braided twist Princess Leia look we all love.
Taking Your Time
While it is quite a classy and simple look, it’s important not to rush the process. When we rush, it can leave us with a messy-looking bun rather than a slicked-back one. Using Gisou’s Final Touch Set is what will really help secure the desired sleek look. But knowing when to use what is important.
It may take a few trial runs to understand how much product to use and how to section the hair. But once you have it pat down, it’s an easy look with minimal effort that looks great on everyone.