How to Use a Curling Iron: Useful Tips + Mistakes to Avoid
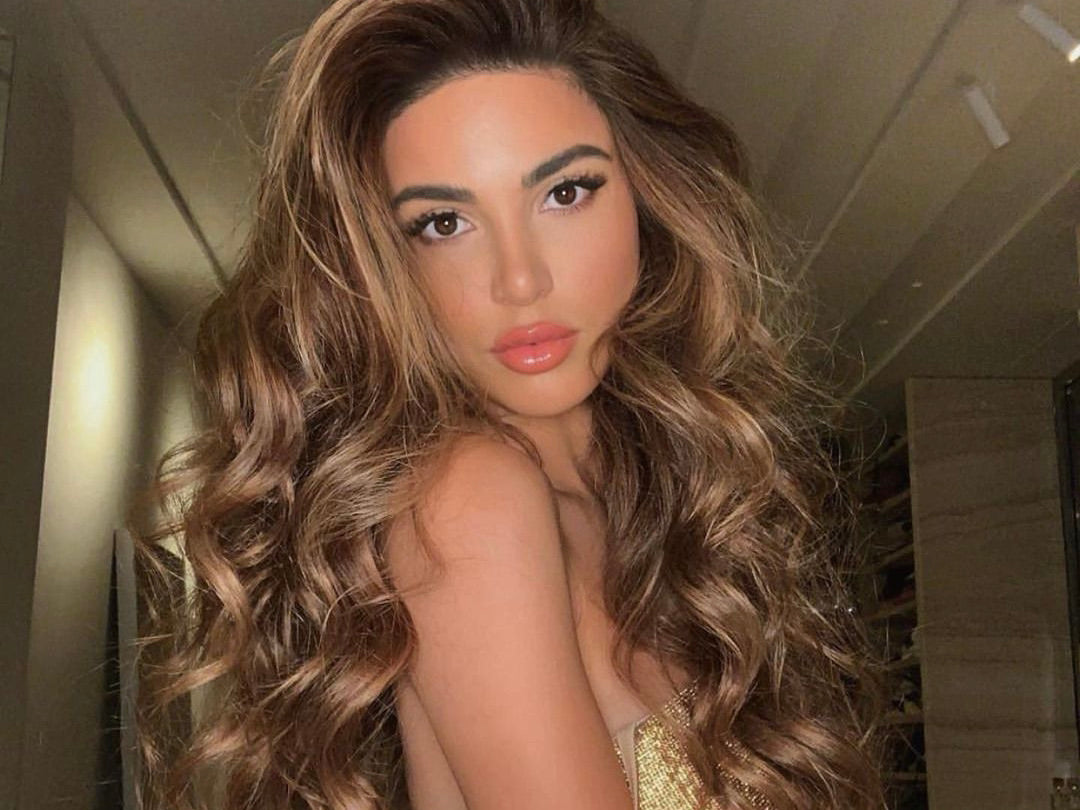
Do you love the look of voluminous, shiny, bouncy curls? A curling iron can help you get there! But, if you weren’t blessed with hair that has natural texture and curl, it can take a bit of practice and skill to pull off natural-looking curls with a curling iron.
There are a lot of factors involved, from choosing the right curling iron and styling products to finding the best temperature and technique for your hair type. Maintaining the health of your hair is also a top concern when using heat tools.
Below, you’ll learn how to use a curling iron step by step and get our top tips plus mistakes to avoid for the healthiest, shiniest curls ever.
How to Use a Curling Iron Step by Step
Step One: Prep and Protect Your Hair
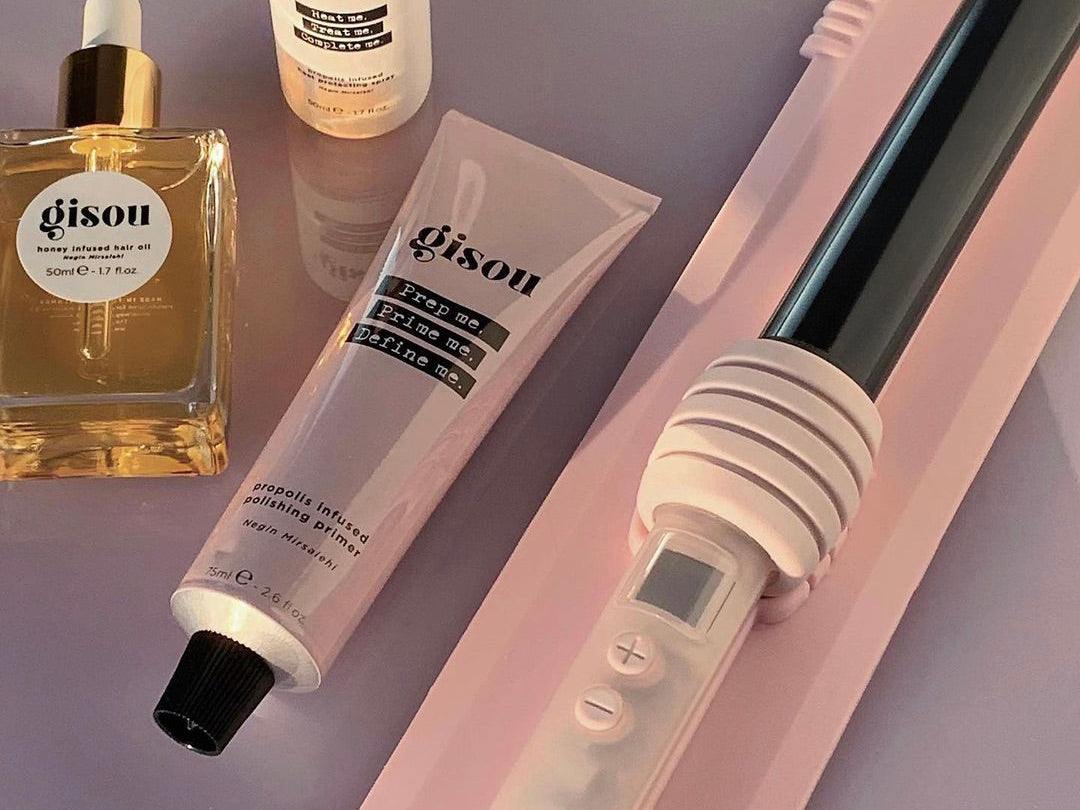
Prepping and protecting the hair before styling is crucial for the best results and avoiding damage. If you’re starting this process with freshly washed, still-damp hair, apply our Honey Infused Leave-In Conditioner and use a wide-tooth comb to ensure that your hair is tangle-free.
First, warm a dime-sized amount of Propolis Infused Polishing Primer in the palms of your hands and apply it evenly to your hair from root to tip. Our hair primer reduces drying time while adding moisture, volume, and shine. It’s ideal for extending the life of your curls, preventing frizz, and providing workable hold.
Follow with an even application of Propolis Infused Heat Protecting Spray. This heat protectant acts as a barrier between your hair and the heat from your blow dryer and hot tools. It protects the hair from sun damage and heat up to 230 C/446 F.
Drying your hair is the last step of the preparing and protecting process. You can dry your hair using a round brush to create a smooth finish. Or, allow your hair to air dry and curl it when completely dried for the longest-lasting curls with less potential for damage.
Step Two: Section Your Hair
Once your hair is completely dry, prepped, and protected, you’ll want to start by sectioning the hair into two main sections, one for the bottom and one for the crown. If your hair is especially long or thick, creating an extra section or two in the middle will make the curling process easier.
Once your main sections are secured with hair clips or bobby pins, you’ll want to think about the style you’re looking to achieve. The direction you part the smaller sections as you curl will affect the final style, so it’s something to think about before you get started.
Parting in horizontal sections will add volume at the root, while vertical sections create a looser, natural look. If your hair is quite thick, try curling in 1-inch sections. If it’s medium to thin, start with 1.5-inch sections and adjust as needed to get the look you’re going for.
Step Three: Curl Your Hair
Wearing a heat protectant glove on the hand that’s holding your hair, wrap 1 to 1.5-inch pieces of hair around the curling iron, starting with the bottom section first and moving toward the crown, saving the face-framing pieces for last.
You can curl all the hair in the same direction or try alternating directions as you go for a more natural look. It’s important to keep the hair as flat as possible while you curl and avoid layering hair on the barrel because it will lead to uneven heating of the section. Curl each section for about 10 seconds, never any longer than 15.
When releasing the curl, avoid pulling or tugging because it will stretch the curls, causing them to lose their shape. Instead, allow the curl to fall gently into the palm of your hand and wait a few seconds before you release it.
If you’re going for tighter curls that last a long time, you can use bobby pins, hair rollers (especially for the front sections of your hair), or clips to pin up your curls rather than releasing them. The key is to pin the curls while they're still hot and leave them undisturbed until they’re completely cool. The longer you leave the pins in place, the more defined the curls will be and the longer they’ll hold their shape.
Step Four: Let Your Hair Cool Before Separating the Curls
Allow your hair to cool completely before you touch the curls. For the longest-lasting, most voluminous curls, you can simply shake out the curls and style gently with your fingers once cool. For a smoother, looser effect use a wide-toothed comb or soft bristle brush to separate the curl.
Step Five: Finish Your Style
At this point, you might be tempted to reach for hairspray to set your style. However, hairspray can leave the hair a bit crunchy and stiff. Setting your style with a light mist of our Propolis Infused Texturizing Wave Spray is a better option if you want soft, bouncy curls with natural-looking hold.
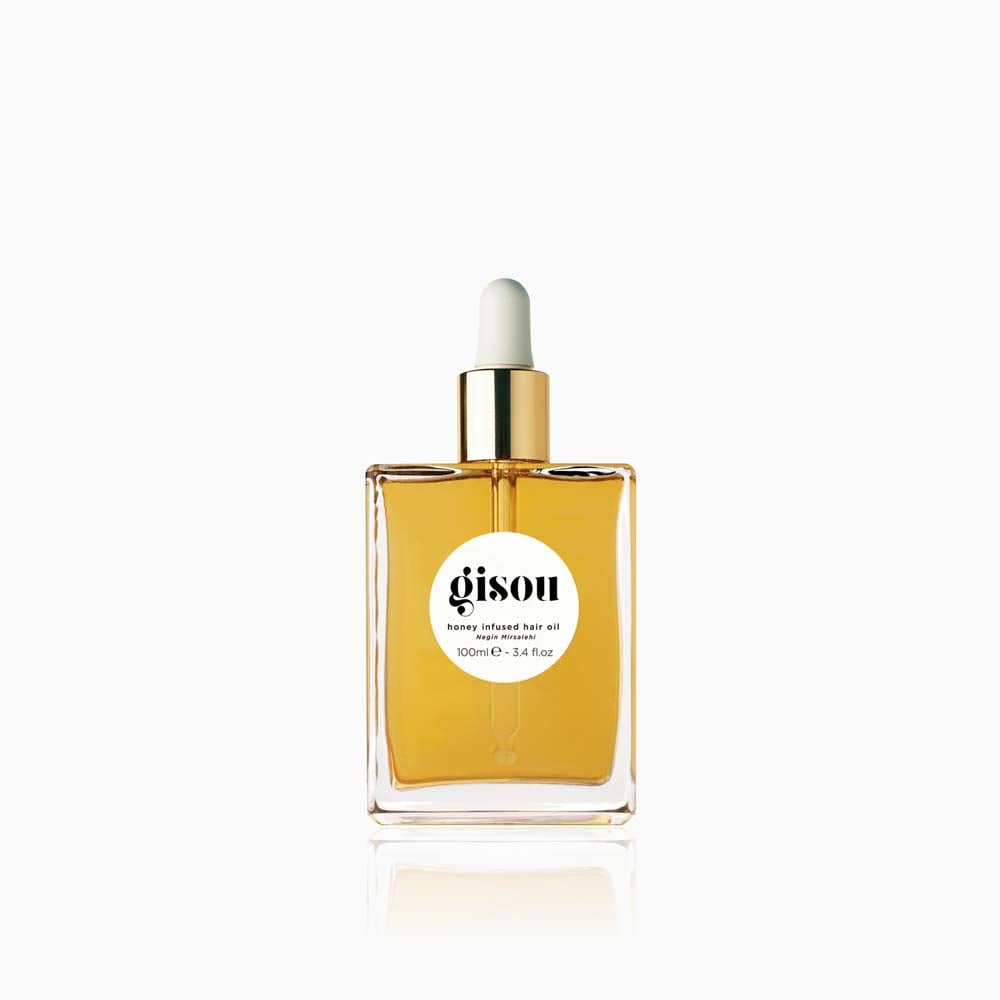
Pro Tip: Applying a drop or two of our Honey Infused Hair Oil to the lengths of your hair after curling will add radiant shine, eliminate frizz, and restore softness.

How to Use a Curling Iron with a Clamp
To use a curling iron with a clamp, place a section of hair between the barrel and the clamp, close to the root of your hair. Close the clamp lightly and slide it down the section of hair until you reach the ends, then allow the clamp to close fully.
Twist the hair toward your roots, wrapping the section of hair around the wand as evenly as possible. Wait about 10 seconds before opening the clamp and gently pulling the iron away from your hair.
How Do You Use a Curling Iron Without a Clamp?
When using a curling wand without a clamp, hold the wand in the hand that’s on the opposite side of your head from the section you’re planning to curl. Place the base of the wand at the roots with the narrow end of the barrel pointing down.
Use your other hand to wrap the length of your hair around the wand, working your way down without overlapping. You can leave the ends out or wrap them around the smallest part of the wand, depending on your preference. Release the curl after about 10 seconds and gently pull the wand away from your head.
Useful Curling Iron Tips for Beginners
If you’re brand new to using a curling iron, or you’re struggling to get the look you’re going for, these tips will help you achieve the best results possible with the lowest risk of damage.
Opt for a High-Quality Curling Iron
Cheaply made curling irons are more likely to damage your hair, while ceramic and tourmaline curling irons are generally considered the safest for your hair. Irons made from these materials distribute the heat more evenly and lead to smoother, frizz-free curls.
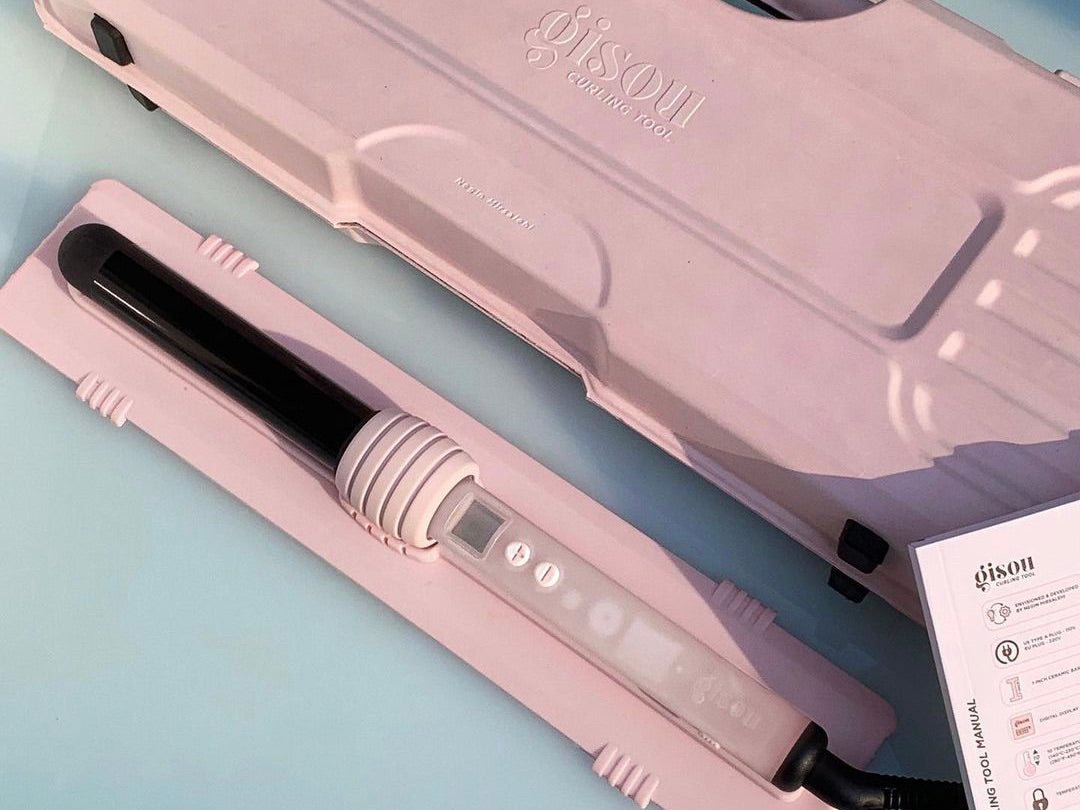
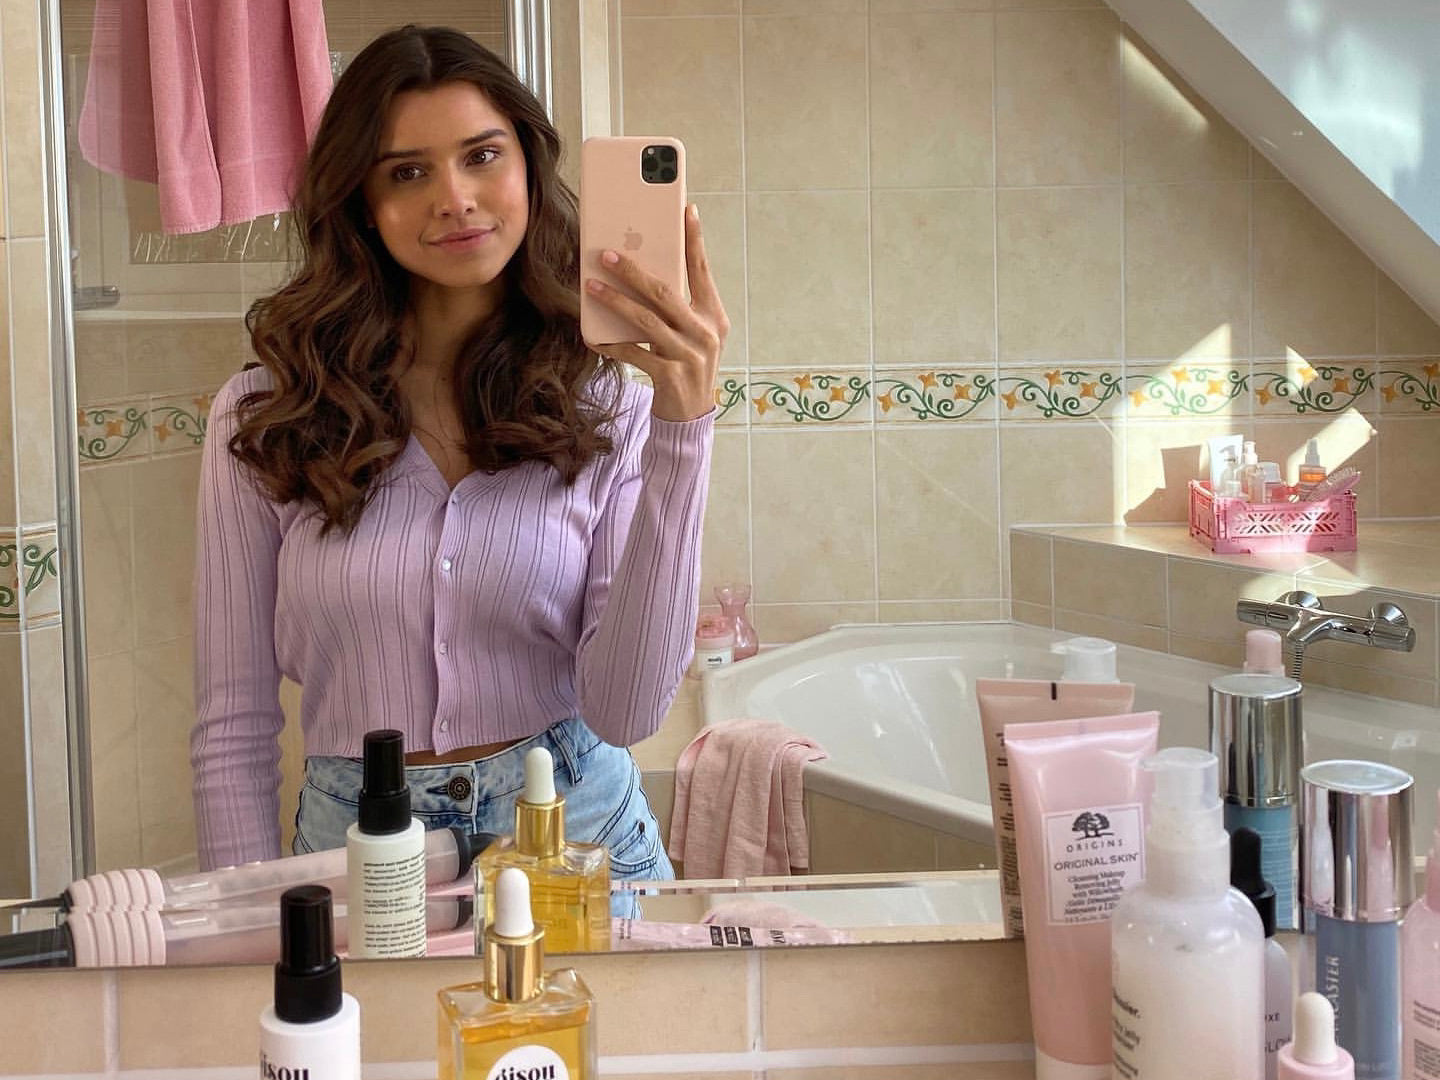
The Gisou Curling Tool features a 1-inch ceramic barrel and 10 temperature settings, so you can find the perfect heat setting for your hair type and style. It’s the perfect curling wand for everything from beachy waves to ringlets and even has a nostalgic, honey-dripper design.
Choose the Right Curling Iron Size
It’s important to know that different size curling irons create different styles of curls. In general, a 1-inch barrel is the most versatile, allowing you to create a variety of looks, from ringlets to loose curls. Smaller barrels will create tighter spiral curls, while larger barrels will create looser waves.
Use the Lowest Effective Heat Setting
The lower the heat setting, the less damaging it will be to your hair. Generally speaking, fine hair requires less heat than thick or coarse hair. If your curling iron allows you to adjust the temperature, start with the lowest heat setting. If your hair doesn’t curl the way you want it to, gradually increase the heat until you find the lowest effective heat setting for you.
Choose the Right Type of Curling Iron
There are as many different types of curling irons as there are different ways to curl your hair! In addition to clamp curling irons and curling wands, there are spiral curling irons, three-barrel wavers, and much more. Be sure to do your research and read reviews before purchasing to determine which type of curling iron is best for the look you’re hoping to achieve.
Be Sure to Clean Your Curling Iron Regularly
Cleaning your curling iron regularly, preferably after every use, will prevent product buildup on the barrel. Wiping down the barrel with a damp cloth should be all that’s required. Avoid using things like alcohol, which could damage your curling tool.
Curling Iron Mistakes to Avoid
Here are some common curling iron mistakes that can increase the risk of permanent damage to your hair.
Never Use a Curling Iron on Wet Hair
Your hair should always be completely dry before using a curling iron. Hot tools, like curling irons, apply heat directly to the hair, and using any heat tool on wet hair is going to be more damaging because the hair cuticle is open and exposed.
Don’t Use a Curling Iron Every Day
The heat from a hair dryer, curling iron, and other hot tools strips the hair of its natural moisture, making it more prone to damage and breakage. Try to limit your use of heat tools to no more than a few times per week.
If you do use heat tools often, be sure to take extra steps to protect the hair and keep it healthy. Regular application of our Honey Infused Hair Mask is ideal for restoring hydration and maintaining the health of your hair. And don’t forget that applying a heat protectant is an absolute must every time you’re blow drying or styling with heat.
Avoid Using a Curling Iron on Damaged Hair
Overexposure to sun, heat, and chemicals weakens the bonds of the hair and leads to damage. Hair with existing damage is not only more difficult to style, but it’s also more prone to breakage and split ends. It’s best to avoid using a curling iron on damaged hair and choose heat-free styling methods instead.
Never Use Hairspray Before You Curl
It’s important to understand that hair spray is not a heat protectant. They simply do not have the same qualities and cannot be used interchangeably. In fact, spraying your hair with hairspray before you curl is likely to result in more damage and a crunchy, stiff texture. If you’re going to use hairspray, wait until after you’re done with the curling iron.
Wrapping Up
Now that you know how to use a curling iron like a pro, experiment with different techniques to change up your look. For example, you can curl your ponytail for a more polished look in a flash or leave out the ends for a more tousled look. There are so many options, you’ll never run out of new styles to try!